Introduction
Constraint module provides the minimum number of available consumers required per or on a given time duration. The client manager will get notified every time a constraint is not met. The constraint violations are also displayed in the Scheduler Section of the Client Dashboard.
In this section, you will be able to:
- Add / update / remove a constraint
- Check minimum number of consumer constraints
Here is how to get to the Constraints menu:
- Log into your client Manager Team2Book account
- In the homepage of Team2Book, tab the Members Area.

- Click Client Dashboard in the left side of the Members Area menu.

- Click Constraints. This is where you look at each Constraint in the Constraints table, see its Consumers Priority or/ and Consumers Role, Time Interval, and the number of consumers in each Constraint.
What are Constraints?
The constraint dashboard contains: Number of Consumers, Consumers Priority or/ and Consumers Role, and Time Interval.

Number of Consumers:
Number of consumers provides the minimum number required available consumers. A consumer that needs to use or consumes a resource. For example, the minimum number of employees (consumers) present at the office (ressources).

Consumers Priority or/ and Consumers Role:
You can target consumers based on the consumer’s priority, the consumer’s role or both by role and priority. A particular consumer role may consist zero to many consumers.
Targeting Consumers By Consumers Priority
For targeting consumers by priority you can select consumers Priority.
Add minimal priority. If priority 3 is added then consumers with priority 3 and above 3 will be targeted. Hence the priority range will be [1 – 3]. Set it to 10 to target all consumers.

Targeting Consumers By Consumers Role
To Target consumers by their role you can select Consumers Role to target Consumers by consumers Role.

Consumer role is a group of consumers assigned a role on the basis of a client’s need to use the available resource. You can select any one of a consumer role to assign to the constraints table. By default, the system selects All consumer roles.
For example, you can select the Doctor Consumer Role of a consumer to assign to the constraints.

Targeting Consumers By Consumers Role and Priority
To Target consumers by their role and priority you can select Consumers Role and Priority to target Consumers by consumers Role and Priority.

When we select the target consumer by Consumers Role and Priority option, the Consumer priority and Consumers Role field will be displayed.

If you want to target all consumers select ‘None’.

Time Interval
A time interval is the amount of day / time in the constraints. Specify the time where the constraint shall be applied. There are five options.
1. Morning : Every morning.
2. Afternoon : Every afternoon.
3. Day : Every day.
4. Week : Every week.
5. Custom Days : Similar to Week but only in the given week days.

You can select any interval time where the constraint shall be applied. E.g. When you select Custom Days i.e Every week from Tuesday to Thursday.

When the minimum number of required available consumers exceeds the number of existing target consumers, error will be displayed. For example, requiring 10 doctors minimum when overall only 8 doctors have the Doctor consumer role will generate an error.

How to add/remove/update a constraint.
As a client manager, you can now add, update, and delete a constraint.
Adding a constraint
Steps to add a constraint;
- Click the Add New button in the client dashboard Constraint table.

- When you click the Add New button a new Adding a Constraint page will pop-up.
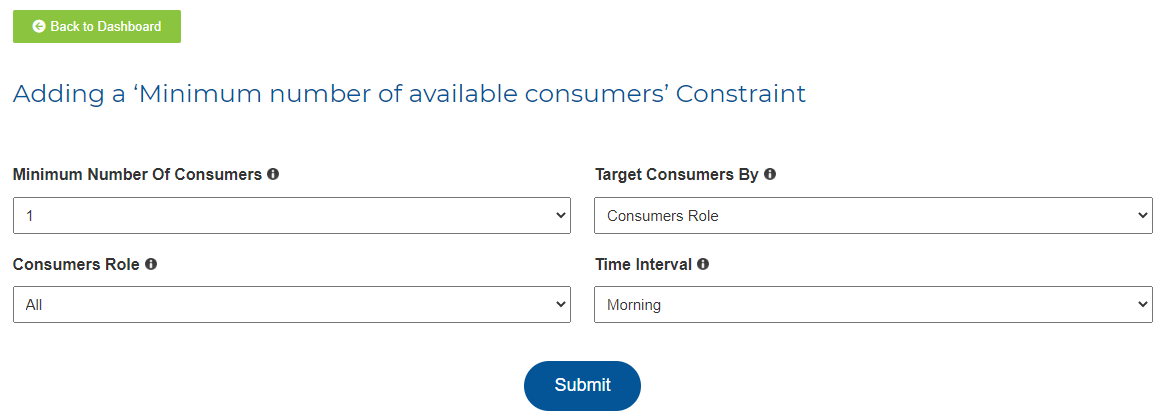
If you don’t have any constraint to add into the constraint table you can click the Back to Dashboard button anytime to get back to the constraint table.
- You can specify the minimum number of consumers, Target consumers, Time Interval. Let’s say we want to add a minimum of one consumer with all consumer priority and a Doctor consumer role in a time interval of per day.

- After making sure we have specified the detailed information to the constraint, click the Submit button.
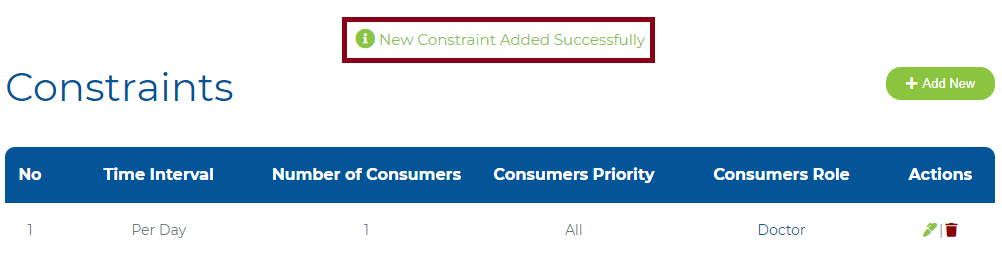
- The system will take you back to the constraint table, and you will get your newly added constraint with a message New Constraint Added Successfully.
Updating a constraint
Steps to update a constraint;
- Select the constraint, you want to update and click the edit / update button, When you mouse over in the right end of the selected constraint, and the cursor is in the edit/ update button update information will display.

- A new page will pop-up after clicking the update button,

- You can edit or update the constraint attributes on the basis of your need.

- After editing or updating the constraint information, Click Submit
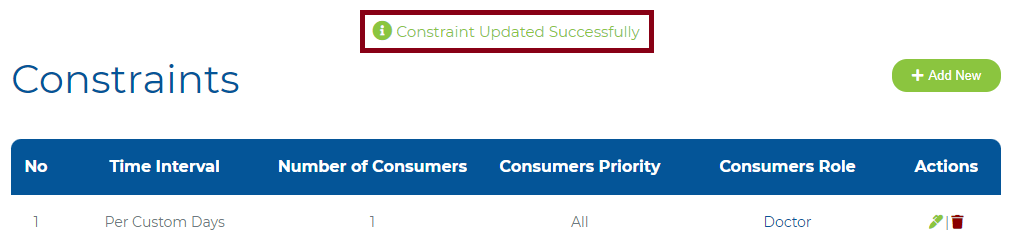
- The system will take you back to the constraint table, and you will get an updated constraint with a message Constraint Updated Successfully.
Removing / Deleting a Constraint
Steps to remove or delete a constraint:
- Select the constraint, you want to remove or delete and click the remove/delete button. When you mouse over the right end of the selected constraint, and the cursor is in the remove/delete button delete information will display.

- After clicking the remove / delete button, a new information page will pop-up.
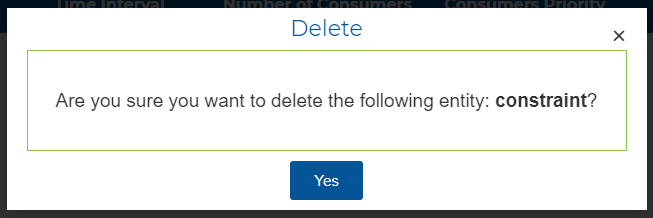
- If you are sure to remove or delete the selected constraint, you can click the Yes button. If you’re not sure about the selected constraint you can cancel by clicking the x button on the new pop-up page and will return you to your constraint table.
- When you click the Yes button, the system automatically removes or deletes the constraint in the constraint table. You will get back to the constraint table with the message Constraint Deleted Successfully.
The unmet constraints notifications and error display on the scheduler page.
Team2Book offers an email notification for Constraint violations. This email notification is intended to give prompt notification that a constraint has been violated. The system checks if all the minimum number of consumer constraints are not violated. If the number of available consumers on that time interval is less than the consumer number specified in the constraint, then the system sends the number of available consumers that is too low, notification to the client manager.
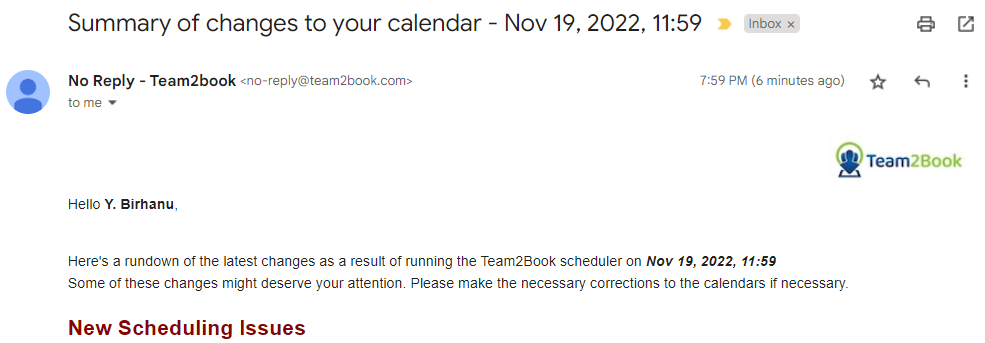

A client might have the requirement that at least 1 different consumer be available for Morning. If in the morning, No consumers have availability, then a notification will be sent to the Client Manager. An email, including a table of the scheduling issues, will be sent the same day the violation is cited.
The table below illustrates this example. This table is displayed on the Scheduler’s page. The error will remain visible until the problem is resolved.

