Tutorial
Introduction
This tutorial will provide you with an overview of how to use the Client Managers and Viewers Module in Team2Book. You will learn how to add, edit, and delete managers, manage permissions, and view managers information. You will also learn how to create and manage viewers, as well as view viewer information. By the end of this tutorial, you should have a better understanding of how to use the Client Managers and Viewers Module in Team2Book.
What are client managers
A Client Manager in Team2Bok is a professional who is responsible for managing the resources and consumers (preferences, consumers and resources, etc.) of a company or organization. They are responsible for overseeing the allocation of resources, such as office, lab equipment or anything needed for successful management and completion of a task, to ensure that they are used in the most efficient and effective manner possible.
Here is how to reach the Client Manager menu:
- Log into your client Manager Team2Book account
- In the homepage of Team2Book, tab the Members Area.

- Select Client Dashboard from the Members Area’s menu
- Click Client Manager on the left side of the Client Dashboard menu.
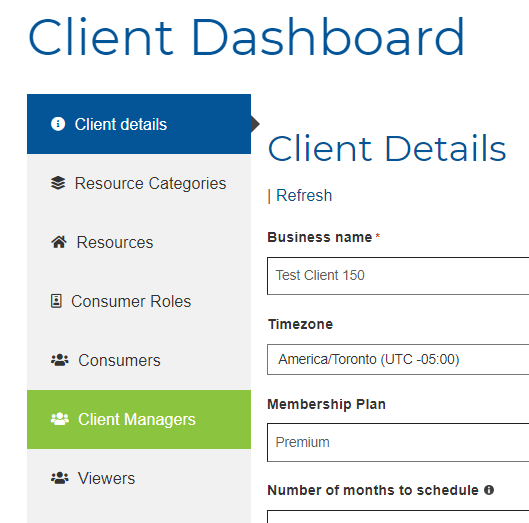
There are two user type as a manager in Team2Book
- Principal Client Manager
- Client Manager
Principal Client Manager
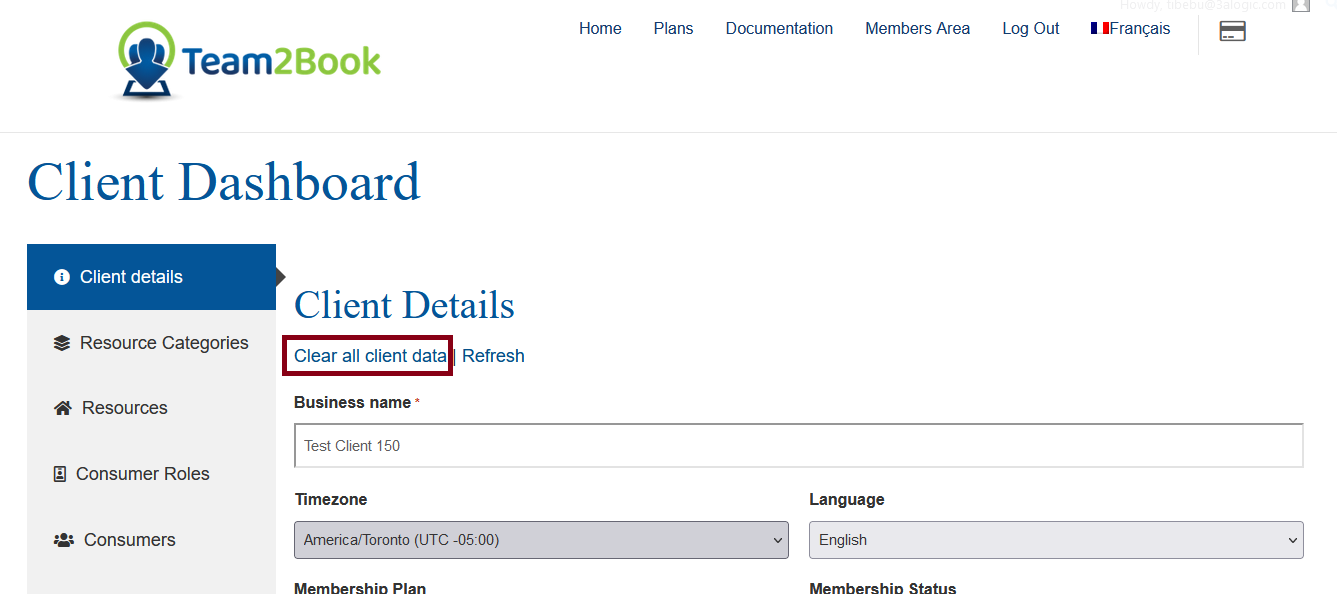
A Principal Client Manager account is created by the Team2Book admin. The primary difference between a Principal Client Manager and a Client Manager in Team2Book is the level of privilege. A Principal Client Manager can clear all client manager data in the client dashboard. When you login as a Principal Client Manager in the Team2Book, you’ll have additional Clear all client data options in the client dashboard menu.
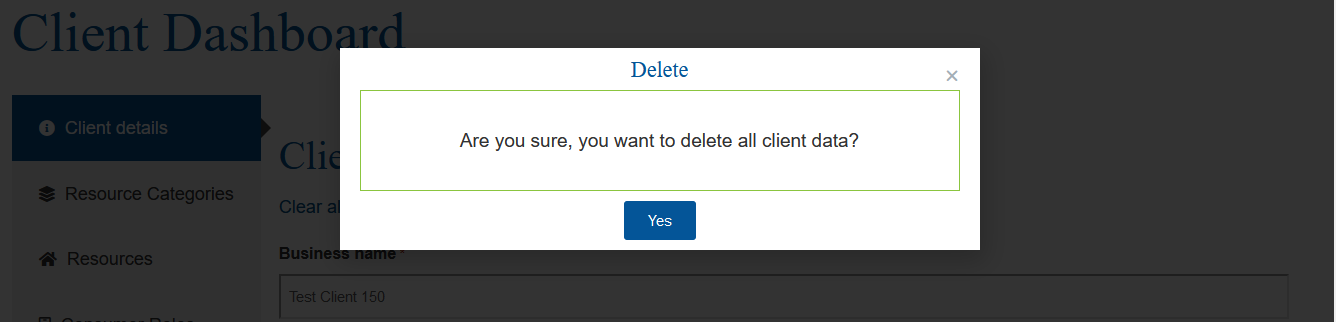
If a Principal Client Manager wants to clear all client manager detail data, He can click Clear all client data, then the delete query will pop-up.
A Principal Client Manager can also delete / remove a client in the client manager table.

The principal client manager can also manage the subscription.
Once the principal client manager adds you as a client Manager to a Team2Book member, You’ll start managing the team’s data (preferences, consumers and resources, etc.) in Team2Book.
The client manager doesn’t have a privilege to clear all other client manager data in the client dashboard

Also, the client manager doesn’t have the privilege to edit or update other client manager data in the client manager table.
Why is it useful to name a second client manager to assist the principal client manager?
Naming a second client manager to assist the principal client manager is useful for several reasons. First, having two people managing an account also provides redundancy in case one of them is unavailable or unable to manage the team’s data (preferences, consumers and resources, etc.) in Team2Book. Second, Having two people in charge of the same account ensures that assigning consumer events in TeamUp are addressed in a timely manner.
The responsibility of a Client Manager as a Team2Book member:
- Managing the team’s data (preferences, consumers and resources, etc.) in Team2Book.
- You can start assigning consumer and special events in TeamUp.
How to add/modify/delete a client manager
Adding a Client Manager:
- Log in to Team2Book Principal Client Manager account and Go to the Client Dashboard.
- Click on the “Client Managers” tab.
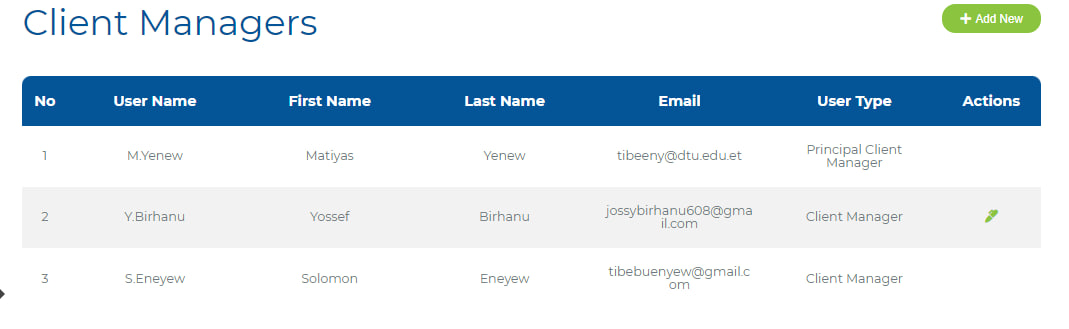
- Click on the “Add New” button.

- Enter the client manager’s name, email address, and other relevant information into the appropriate fields.
- Click “Submit” to add the client manager to the system.

- Automatically a new client manager will be added to the client manager table.
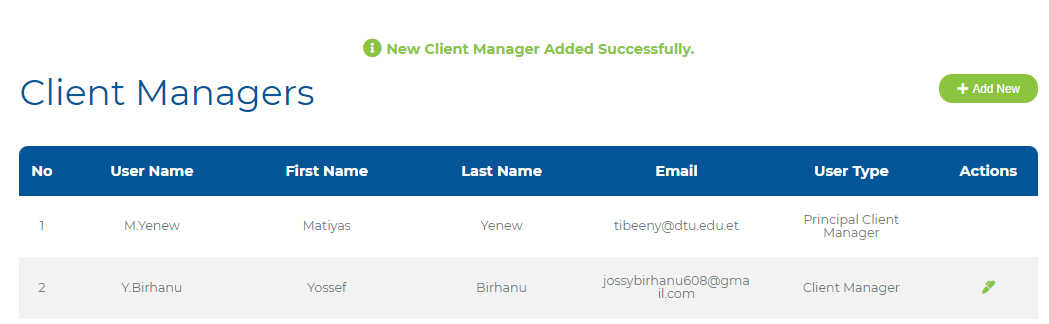
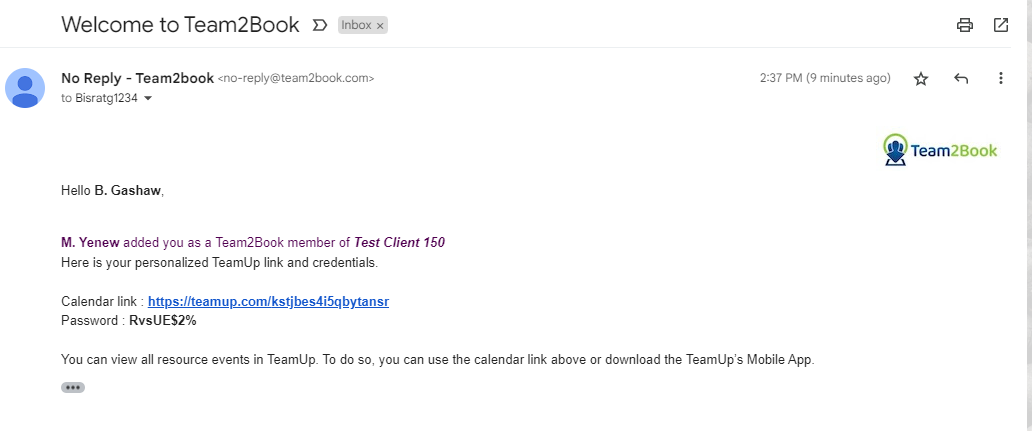
The newly added client manager will receive an email notification with TeamUp link and credentials to manage consumer and special events in TeamUp.

Modifying a Client Manager:
- Log in to Team2Book Principal Client Manager account and Go to the Client Dashboard.
- Click on the “Update” button.
A client manager can also update his own client details.
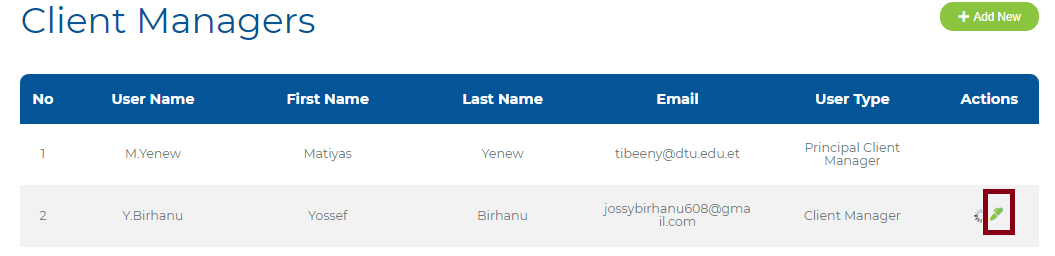
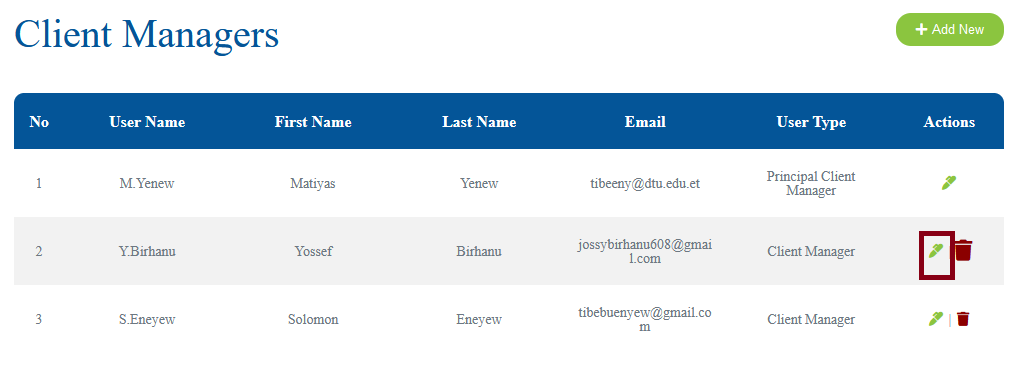
- Select the client manager you wish to modify from the list of existing managers and click “Edit” next to their name.
- Make any desired changes to their information and click “Submit” when finished editing their profile information.
- Automatically the system will update the information accordingly.

Deleting a Client Manager:
- Log in to Team2Book Principal Client Manager account and Go to the Client Dashboard.
- Click on the “Delete” button.
- Select the client manager you wish to delete from the list of existing managers and click “Delete” next to their name.
- then confirm your choice when prompted by clicking “Yes”
What are viewers?
Viewers are users who have read-only access to a Teamup resource system. They can view the sub-calendars or the resource events, but they cannot make any changes or add any content. Viewers can be given access to specific sub-calendars or all sub-calendars in the system. Viewers don’t have availability / non-availability calendars like consumers. They are not a consumer of the resource event.
Ex. Medical Clinic the receptionists are viewers to let the rest of the team where they are working and to let patients know where the professional is working.
How to add/modify/delete a viewer.
Adding a Viewer:
- Log in to Team2Book and Go to the client Dashboard.
- Go to the “Viewers” tab in the client dashboard menu.
- Click on the “Add New” button.

- Enter the viewer’s name, email address, and any other relevant information.
- Click “Submit” to add the viewer to the system.

- Automatically a new viewer will be added to the viewers’ table.
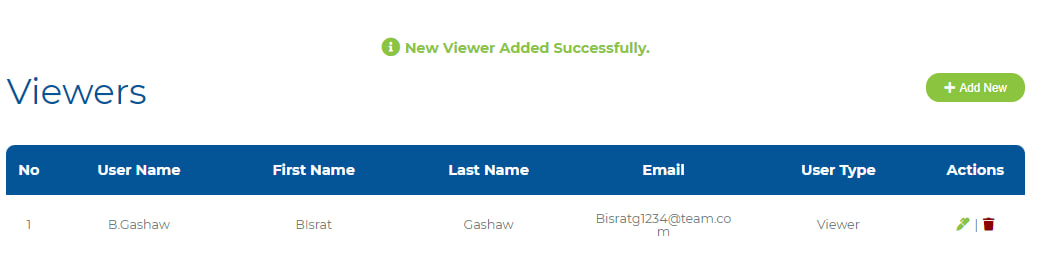
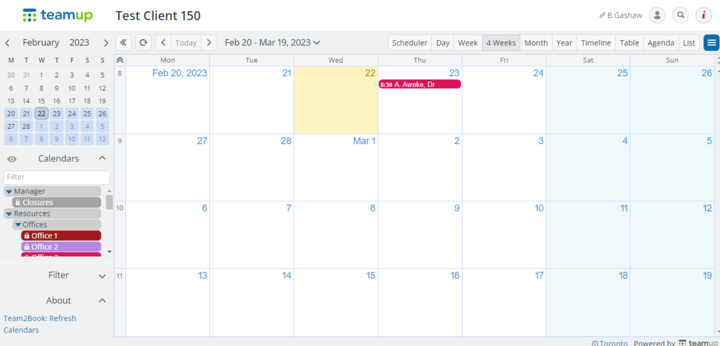
The newly added viewer will receive an email notification with TeamUp link and credentials to view all resource events in TeamUp.
The viewers will have read access only to closure and resource events.
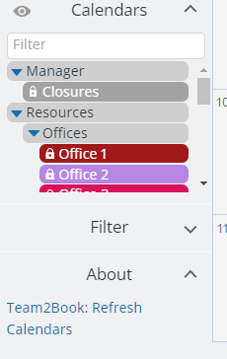
The ‘lock’ icon in front of the sub-calendar means ‘read-only’ access.
Modifying a Viewer:
- Log in to Team2Book and Go to the client Dashboard.
- Go to the “Viewers” tab in the client dashboard menu.
- Select the viewer you want to modify from the list of viewers displayed on screen.

- Make any necessary changes to their profile information and click “Submit” when finished.
- Automatically the system will update the information accordingly.

Deleting a Viewer:
- Log in to Team2Book and Go to the client Dashboard.
- Go to the “Viewers” tab in the client Dashboard menu
- Select the viewer you want to delete from the list of viewers displayed on screen.

- Click on “Delete Viewer” button at bottom of page and confirm deletion when prompted by system message box
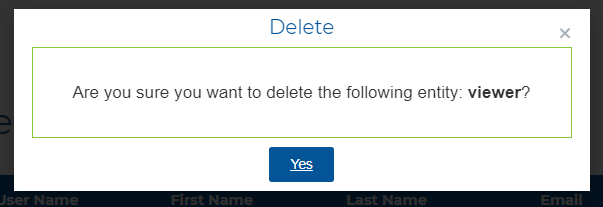
- Automatically the viewer user will be deleted to the viewers table.

The Client Managers and Viewers module tutorial has provided a comprehensive overview of the features and functionality available to clients of Team2Book. With this tutorial, the principal client manager can now easily assign assistants and provide them the right access level.