This module is the user guide for Resource Category and Resource, provides the information and instructions needed to group, add, remove and update resource categories and resources and contain step-by-step instructions guiding client managers through how to use this module and more.
By using this module, you will be able to:
- Add, Update, and Remove your resources.
- Ensure that the available resources are available to support your consumers.
- Get the most from your available resources.
- Group your resources into categories.
Resource Category
Introduction
The goal of Resource Category is to group and categorize resources on the basis of your needs to ensure that you are making the most of the resources available. As a client manager, it’s up to you to decide how to best categorize the resources you have available, figure out what additional resources you might need, and decide how resources are being grouped in your Resource categories.
Resource category is used to group resources. Based on your resource category, you can assign the available resource to the target consumer. For example , a medical office will have 2 resource categories: 1) Medical Offices and 2) Reception workstation. A consumer of type Doctor or Nurse can only work (consume) in an office resource as a receptionist can only consume a reception workstation.
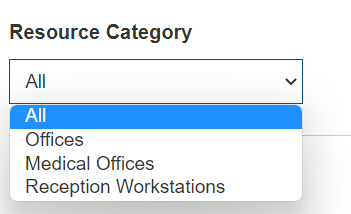
Resource categories is also a filter in the statistics module that enables you to filter resources availability statistics data. In the statistics module, resource category is used to view the required resource category and to view the required available resource by filtering the resource category.
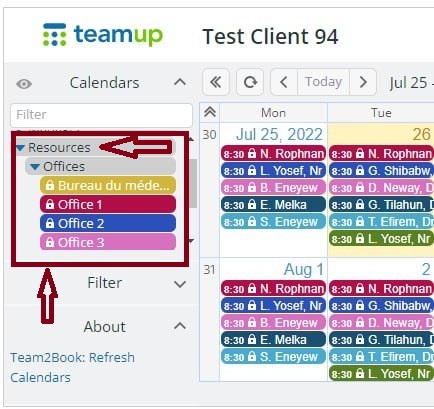
Teamup sub-calendar hierarchy has 3 sub hierarchies, Consumer, Resource, and Manager. In the resource hierarchy, resources are grouped based on category , and each resource has a sub-calendar that displays the consumers assigned to this resource. For example in the figure below, resources are categorized as offices, and under this category there are a number of offices, each office has a sub-calendar.
Here is how to get to the Resource Category menu:
- Log into your client Manager Team2Book account
- In the homepage of Team2Book, tab the Members Area.

- Click Client Dashboard in the left side of the Client Dashboard menu.

- Click Resource Categories.
Attributes
Resource Categories contain two attributes. Name and description of the resource category.

Name
It describes a unique characteristic name of a resource category and the length of the resource category name should be at least 3 characters. The asterisk (*) in front of the Name indicates that you must have to specify a name to your resource category.
Validation
When the name of resource category character length is less than 3, For Example let’s say the name of the resource category is ‘Ma’.

And clicking the submit button, a validation message will pop-up saying the length of a resource category name needs to be at least 3.

Description
Resource description attributes provide additional information about the resource category. The description space in the resource category is optional, you can add information or you can leave the space blank.

Operations
In the resource category, as a client manager you can add, update and remove a resource category.
Adding a Resource Category
Steps to add a resource category,
- Click the Add New button in the client dashboard resource categories.
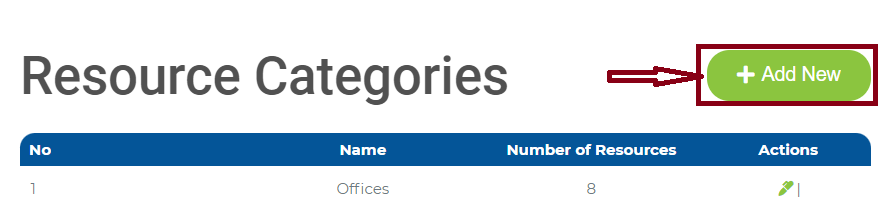
- When you click the Add New button a new Adding Resource Category page will pop-up.
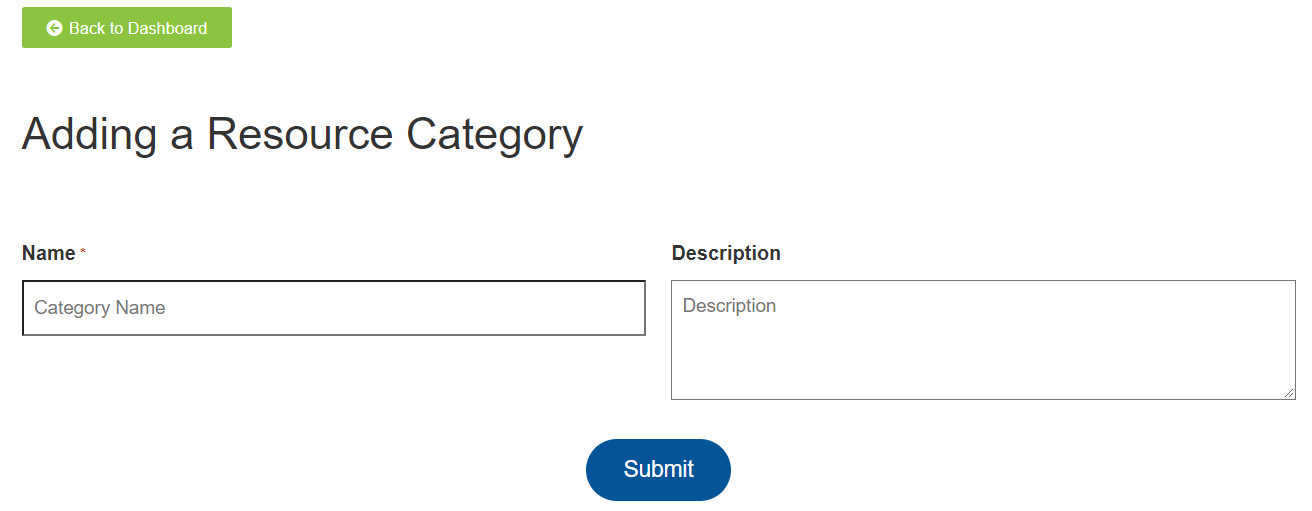
If you don’t have any resource Category to add into the resource category table you can click Back to Dashboard button anytime to get back to the resource category table.
- As per your resource category, you can specify a unique Name and Description to your resources. Here when you Add or specify a name to your different resource category, the name should be unique and doesn’t exist to other resource categories.

- After making sure you have specified the name and description of your resource category click the Submit button.

- The system will take you back to the resource category table, and you will get your new added resource category with a message New Resource Category Added Successfully.

Updating a Resource Category
Steps to update a resource category,
- Select the resource category, you want to update and click the edit / update button, When you mouse over in the right end of the selected resource category, and the cursor is in the edit/ update button update information will display.

- A new page will pop-up after clicking the update button,
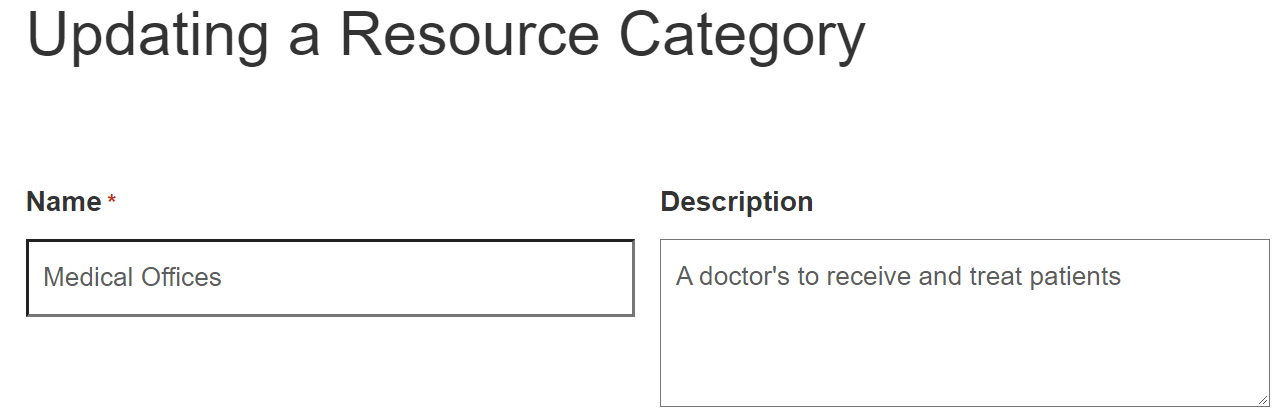
- You can edit or update the name of your resource category and description of your resource category on the basis of your needs.

- After editing or updating your resource category information, Click Submit

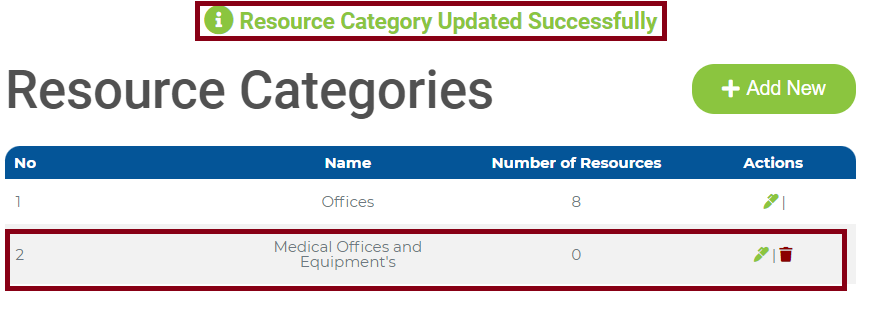
- The system will take you back to the resource table, and you will get an updated resource category with a message Resource Category Updated Successfully.
Removing / Deleting a Resource Category
Conditions to remove or delete a resource category.
- The resource category in the resource category table should be more than 1.

You can’t remove or delete a resource category, when the resource category is only 1 in the resource category table. There is only an update and add option in the resource categories Action tab when the resource category is only 1. No delete or remove option in the Action tab.
- There should be no resource under the resource category. If a resource category has no resource, it can be deleted.
Steps to remove or delete a resource category,
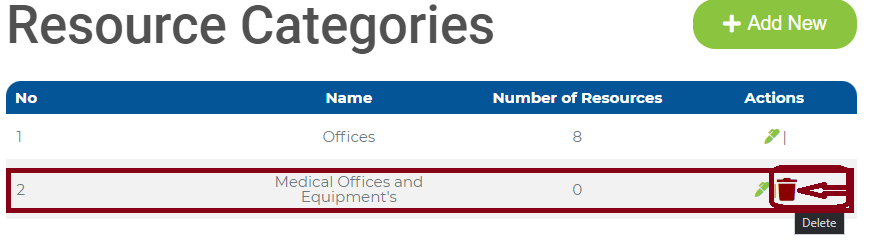
- Select the resource category, you want to remove or delete and click the delete button. When you mouse over in the right end of the selected resource category, and the cursor is over the remove / delete button delete information will display. For example, Let’s say we want to delete or remove the second row resource category in the resource category table.
- After clicking the remove / delete button, a new information page will pop-up.

- If you are sure to remove or delete the selected Resource Category, you can click the Yes button. If you’re not sure about the selected Resource you can cancel by clicking the x button in the new pop-up page and will return you to your resource table.

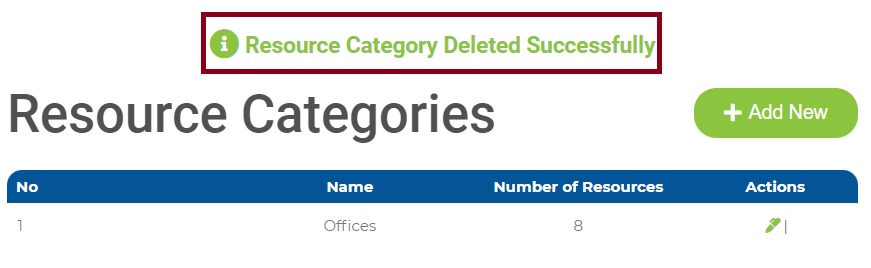
When you click the Yes button, the system automatically removes or deletes your resource category in the resource category table. You will get back to the resource category table with a message Resource Category Deleted Successfully.
Resource
Introduction
The main goal of Resource Entity is to manage resources that can be used by consumers. Resources can be office, lab equipment or anything needed for successful management and completion of a task. For example, in a medical company it could be offices, lab equipment, and in a university, it could be a lecture hall that can be used by teachers and students. In this section, Resource entities are represented.
Here is how to reach the Resources menu:
- Log into your client Manager Team2Book account
- In the homepage of Team2Book, tab the Members Area.
- Click Resource in the left side of the Client Dashboard menu.

Attributes
A resource entity has the following attributes, Name, Category, Status, Reserved by, Calendar Color, Opening, and Closing Times.

Name
A unique name to each Resource
Category
Category of the resource. A resource must be under a resource category. A resource can be grouped only under one category.
Status
A resource can be either active or in-active. The scheduler only assigns consumers to active resources.
Active
- When we say the resource status is active, it is ready or available to schedule or assign by the scheduler to the consumers.
Inactive
- The status of the resource is inactive, you can’t schedule the resources.
Reserved By
- If a consumer has a priority (i.e. priority 1) over a resource, it will be displayed here. This attribute indicates that the scheduler will assign this resource to the Reserved By consumer whenever the consumer is available. To change the value of this attribute, please see the consumer module.
Calendar Color
- There are 48 COLOR options to assign your resource. Each resource has a sub-calendar color.

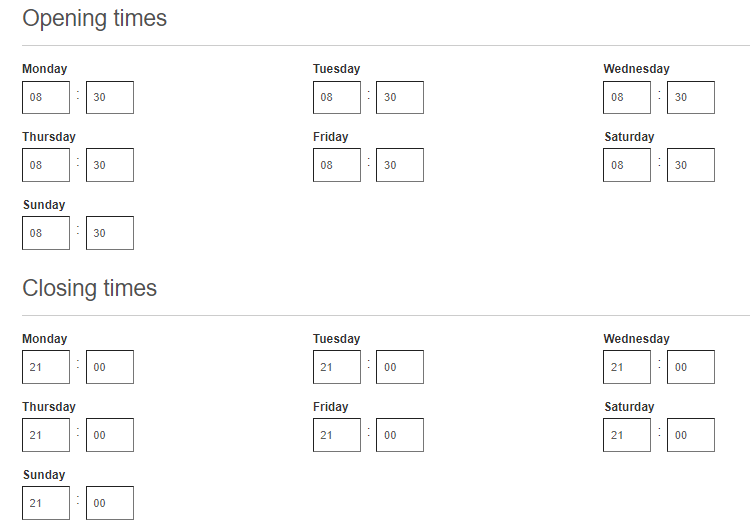
Opening and Closing Times
Opening and Closing time Is the resource availability time for each week day. When the scheduler assigns a resource to a consumer, the opening and closing time of the resource OR the opening and closing time of the client (defined in the Client Details module) will be used. The scheduler will pick the more restrictive hours. By default, the resource and client opening and closing times are the same. For example, a small business may have opening and closing time of 9AM to 5PM but the Gym of that business may be open from 11AM to 2PM. Whenever the Gym resource is assigned to a consumer, the scheduler will only assign the available consumer from 11AM to 2PM.
Operations
Adding a Resource
Steps to add a resource category,
- Click the Add New button in the client dashboard resource table.

- When you click the Add New button a new Adding a Resource page will pop-up.

If you don’t have any resource to add into the resources table you can click Back to Dashboard button to get back to the resources table.

- You can specify a unique name, Status and Opening and Closing time to your resource. And you can assign a sub-calendar color to your resource. This sub-calendar color will be used by Teamup for this resource.

- After making sure you have specified the name, status, calendar color, Resource Category and Opening and Closing time of your resource click the Submit button.

- The system will take you back to the resource table, and you will get your new added resource category with a message New Resource Added Successfully.

Updating a Resource
Steps to update a resource,
- Select the resource, you want to update and click the edit / update button, When you mouse over in the right end of the selected resource, and the cursor is in the edit/ update button update information will display.

- A new page will pop-up after clicking the update button,
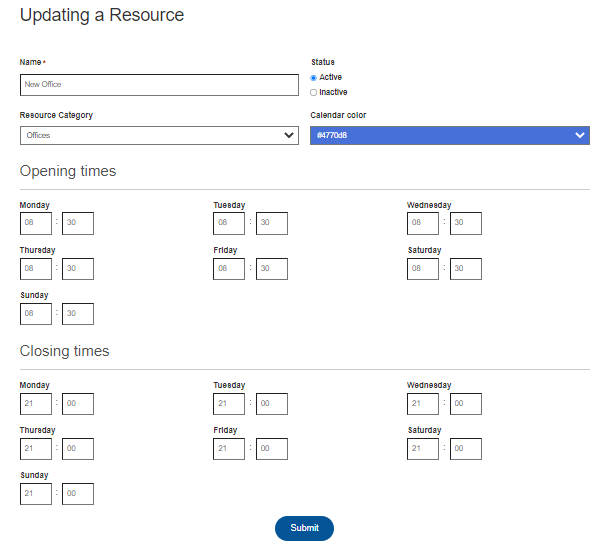
- You can edit or update the name, status, calendar color and opening and closing time of your resource on the basis of your interest. Let’s say if we update the name of the resource and the sub-calendar color of the resource.

- After editing or updating your resource category information, Click Submit

- The system will take you back to the resource table, and you will get an updated resource with a message Resource Updated Successfully.

Removing / Deleting a Resource
Conditions to remove or delete a resource.
- The resource in the resource table should be non-reserved.

Steps to remove or delete a resource,
- Select the resource, you want to remove or delete and click the remove / delete button. When you mouse over in the right end of the selected resource, and the cursor is in the remove / delete button delete information will display. Let’s say we want to delete or remove the 5th row resource in the resource table.

- After clicking the remove / delete button, a new information page will pop-up.

- If you are sure to remove or delete the selected Resource, you can click the Yes button. If you’re not sure about the selected Resource you can cancel by clicking the x button in the new pop-up page and will return you to your resource table.

When you click the Yes button, the system automatically removes or deletes your resource in the resource table. you will get back to a removed or deleted resource category table with a message Resource Deleted Successfully.

All changes made from the Resource module will be reflected in the Teamup Calendar. For example, if you change the name of a resource from the Resource module, the sub-calendar name in Teamup Calendar will be updated accordingly the next time the scheduler runs.